|
Quick Start Guide - Getting Started
These Passing Rings are a volleyball training tool designed to help athletes develop better passing form, platform consistency, and overall body awareness during practice.
View Demonstration Video(s)
Watch Drills on Video for FREE
How to Wear the Rings:
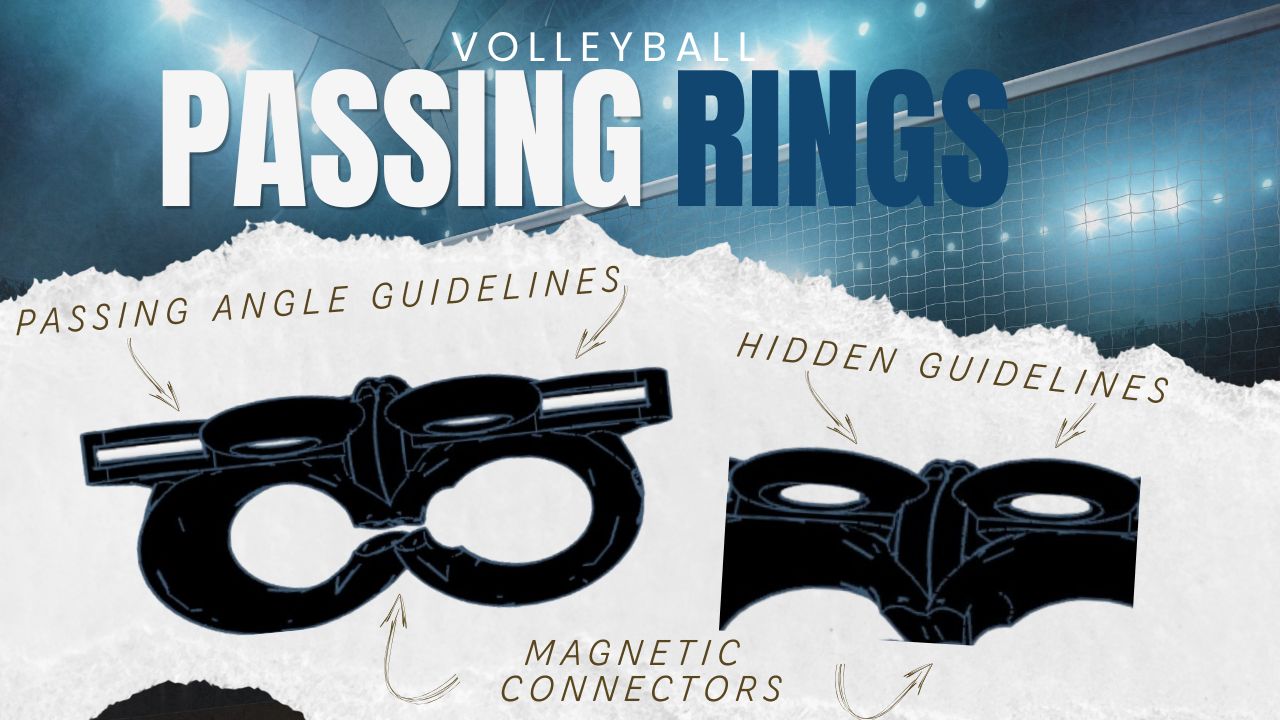
- Place one ring on each Thumb with the guidelines facing you.
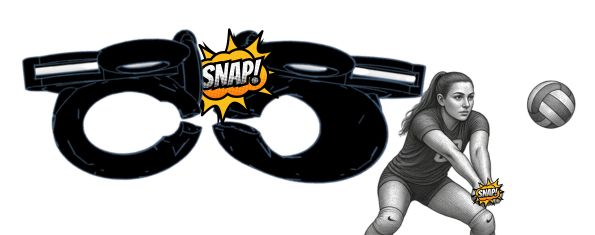
- When passing, Bring Thumbs Together with magnetic connectors.
- Push Thumbs Down while utilizing hidden guidelines.
- Watch your Angle while using your platform angle guidelines.
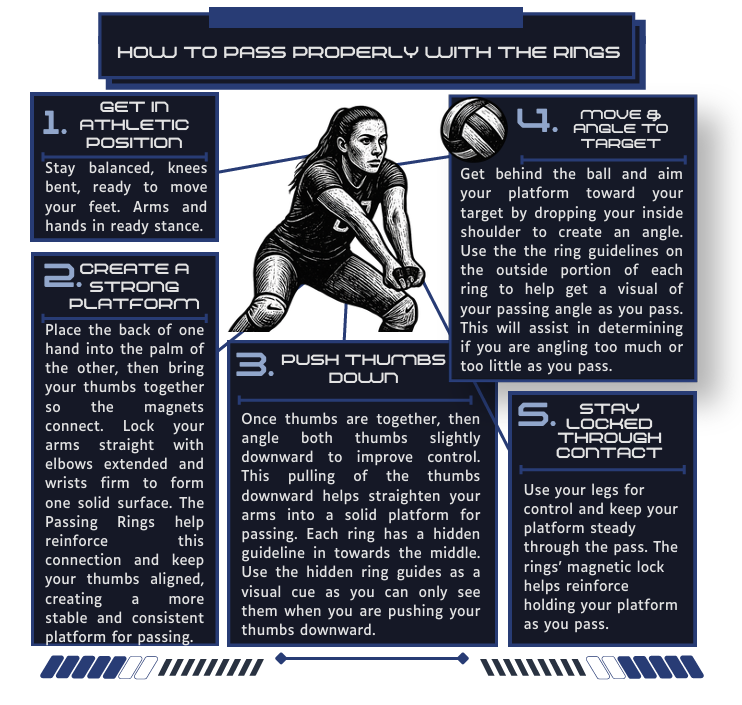
When used correctly, they help guide proper technique by:
- Using magnets to Bring Thumbs Together to help assist in establishing a strong, connected passing platform.
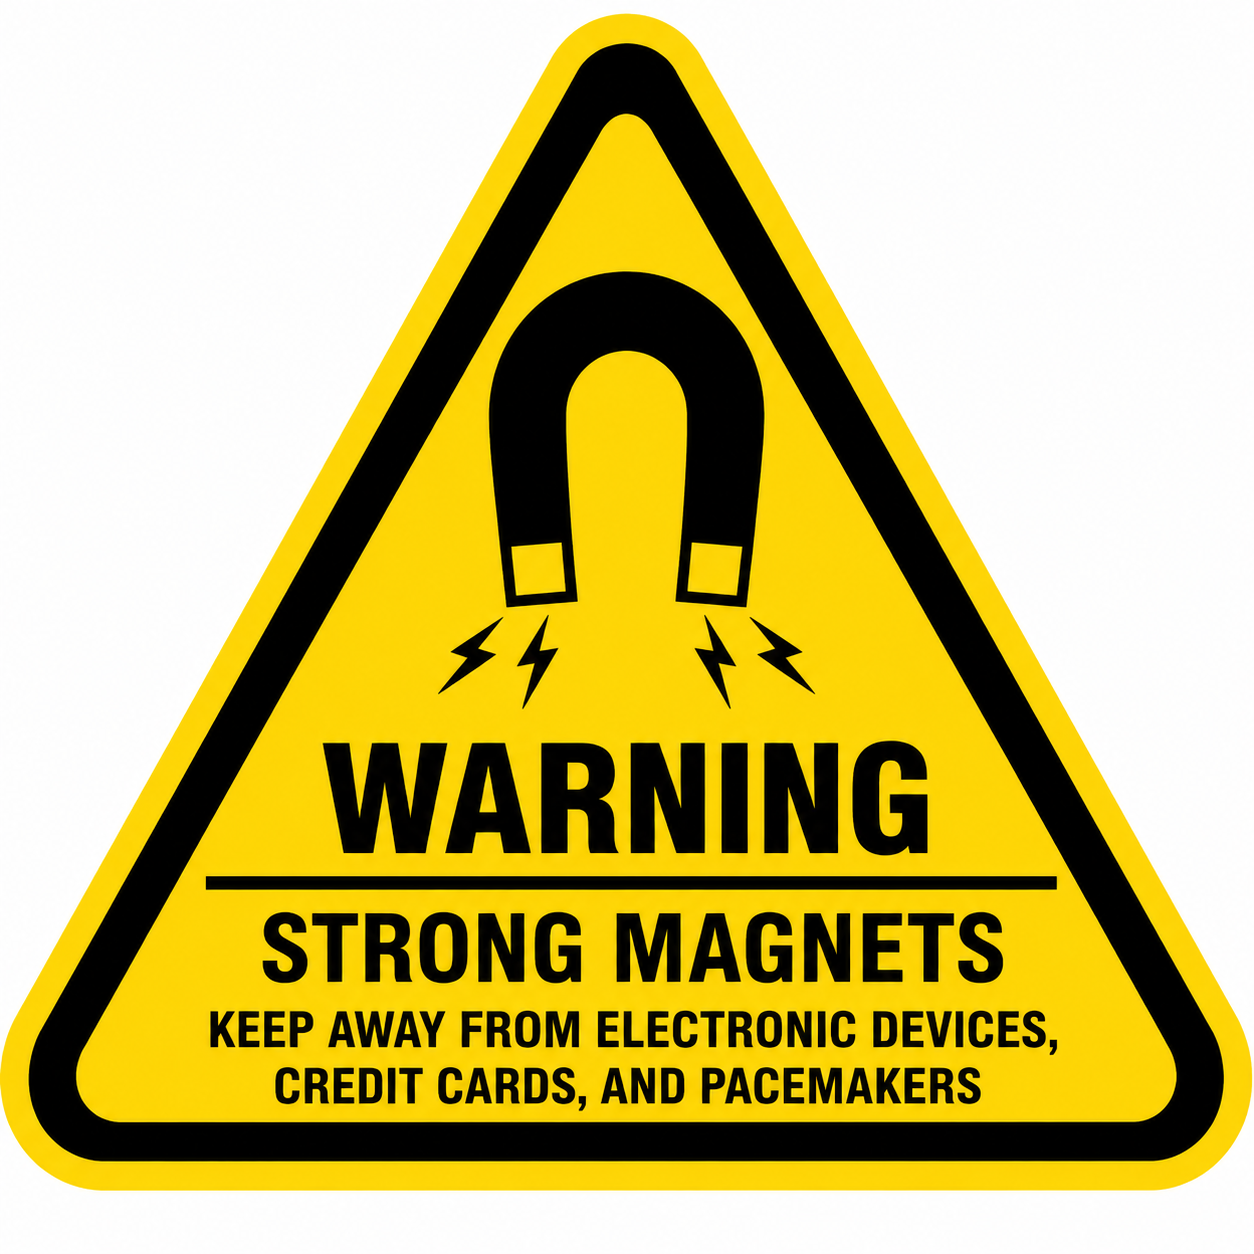
- Using hidden guide cues on the passing rings to encourage Pushing Thumbs Down, which helps to straighten your platform for better control.
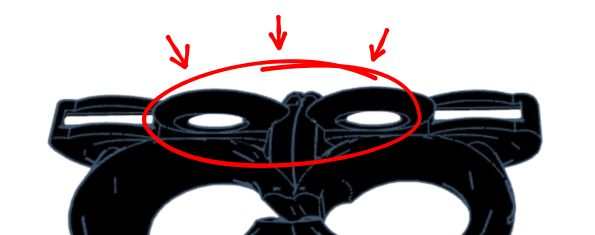
- By pushing your thumbs down, this Assists in Keeping Your Platform Extended for improved consistency through the pass.
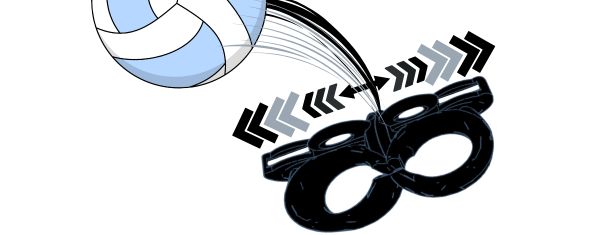
- This also provides magnetic connection stimulus to Help Hold Platform Longer by keeping the rings connected as long as you can through the pass.
- By retaining these technical skills, this makes it easier to Extend Your Platform Away from the Body for better positioning and reach.
- The Rings also provides visible guidelines to Show Your Passing Angles to help players set a more accurate platform angle.
Important Note:
These rings are a guideline training tool. They are designed to support and reinforce proper technique, but they will not force perfect form on their own. Proper passing still depends on coaching, repetition, and athlete awareness.
How to Read Your Platform Training Rings
The guideline marks on your rings provide instant feedback on your passing platform.
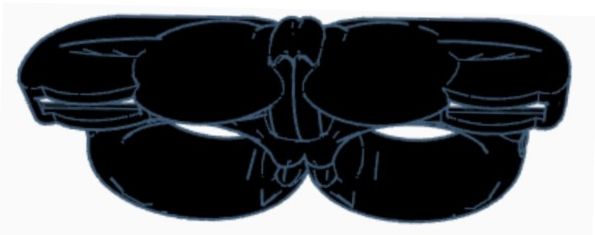
The more lines you can see, the stronger and flatter your platform is.
| Visible Lines |
Feedback |
|
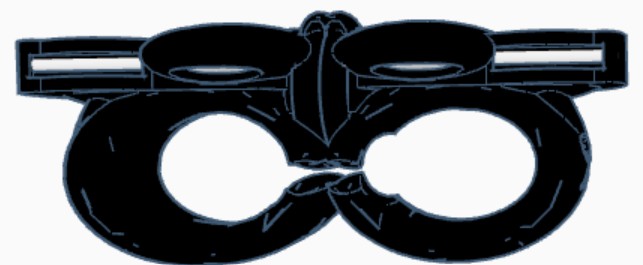
Needs Improvement
Your wrists are likely bent, causing your platform to break down. Focus on locking your wrists and creating a flatter passing surface.
|
|
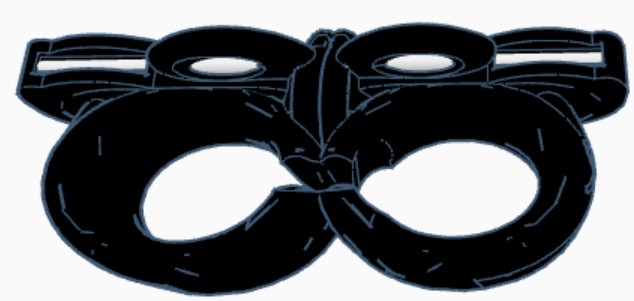
Good Technique - 2 Outside lines visible
Your platform is forming correctly. Continue pressing your thumbs downward to strengthen and flatten your platform even more.
|
|
Excellent Technique - ALL lines visible
Seeing all four guideline marks means your wrists are locked, your thumbs are down, and your platform is strong and ready for consistent passing.
|
Goal: Train until you consistently see all four guideline marks.
Video (Watch for FREE):
Common Mistakes to Avoid with Passing Rings
The Passing Rings are designed to build correct muscle memory for volleyball passing.
However, like any training tool, players can develop bad habits if they are not used correctly.
Below are the most common mistakes and how to fix them.
1. Swinging the Arms Instead of Using a Stable Platform
One of the biggest mistakes is trying to “swing” at the ball instead of creating a firm platform.
The Passing Rings are designed to reinforce a stable, locked-in arm position.
- Problem: Arms move independently or swing upward on contact
- Fix: Keep elbows straight and lock the platform early and shoot your arms to the ball. Utilize the ring to bring your thumbs together and push your thumbs down by using the hidden guideline visual in the rings
- Focus: Let your legs and feet generate movement, not your arms
2. Not Getting Low Enough
Many players stay too upright, which causes poor control and inconsistent passing.
- Problem: Standing tall when contacting the ball
- Fix: Bend knees and stay in an athletic stance
- Focus: Chest forward, hips low, weight on toes
3. Poor Platform Angle Control
If the platform is not angled correctly, the ball will not go to the target.
- Problem: Flat or uncontrolled arm angle
- Fix: Drop your inside shoulder to help point your platform toward target before contact. Utilize the Rings guideline s to help identify the angle of your platform with your shoulders
- Focus: Small angle changes control ball direction
4. Moving Arms Instead of Feet
Passing is a footwork skill first. Many players try to reach with their arms instead of moving their feet.
- Problem: Reaching outside body with arms
- Fix: Shuffle and adjust feet to get behind the ball
- Focus: “Feet to the ball, platform to the target”
5. Hands Separated or Weak Connection
The Passing Rings help eliminate this issue, but players sometimes fight against them.
- Problem: Breaking platform or separating arms
- Fix: Keep wrists and forearms connected. The rings give a magnetic magnetic pull to connect and disconnect to help you feel if your platform is connected or not
- Focus: Strong, unified platform every rep
6. Overcontrolling the Ball
Beginners often try to “push” the ball instead of absorbing and directing it.
- Problem: Stiff, forced contact
- Fix: Soft but controlled platform at contact point
- Focus: Angle controls direction, not force
Coaching Tip
Use short reps and stop frequently to correct form. The goal is not speed,
but perfect repetition. Quality reps build long-term muscle memory.
Next Step
Once players understand these mistakes, move them into structured drills
from the Passing Drills Library to reinforce correct technique under movement.
Go to Passing Rings Drills Library →
What Are Passing Rings?
Product Overview
Passing Rings are a volleyball training tool designed to help players build a consistent and correct passing platform.
They connect the thumbs to reinforce proper platform position, improve muscle memory, and reduce common passing errors during training.
Benefits of Training with Passing Rings
- Helps build a strong, flat passing platform
- Improves consistency in ball control
- Helps keep players thumbs together and pressed down for a strong platform
- Reinforces correct thumb, arm, and wrist positioning
- Encourages proper technique through repetition
- Speeds up learning for beginners and youth players
- Helps identify players passing angles
Who Should Use Passing Rings?
Passing Rings are ideal for youth players, beginners, developing athletes, as well as veteran athletes who want to improve their passing fundamentals.
They are also valuable for coaches and teams looking to quickly correct platform issues and reinforce proper technique during practice.
🏐 How to Care for Your Passing Rings
Your Passing Rings are designed for daily volleyball training, but proper care will help keep them performing their best.
Cleaning:
• Wipe rings with a damp cloth after use if needed.
• For deeper cleaning, use mild soap and warm water.
• Allow rings to completely air dry before storing.
Storage:
• Store rings in a cool, dry place.
• Keep away from extreme heat or direct sunlight for long periods.
• Avoid placing heavy objects on top of the rings.
Magnet Care:
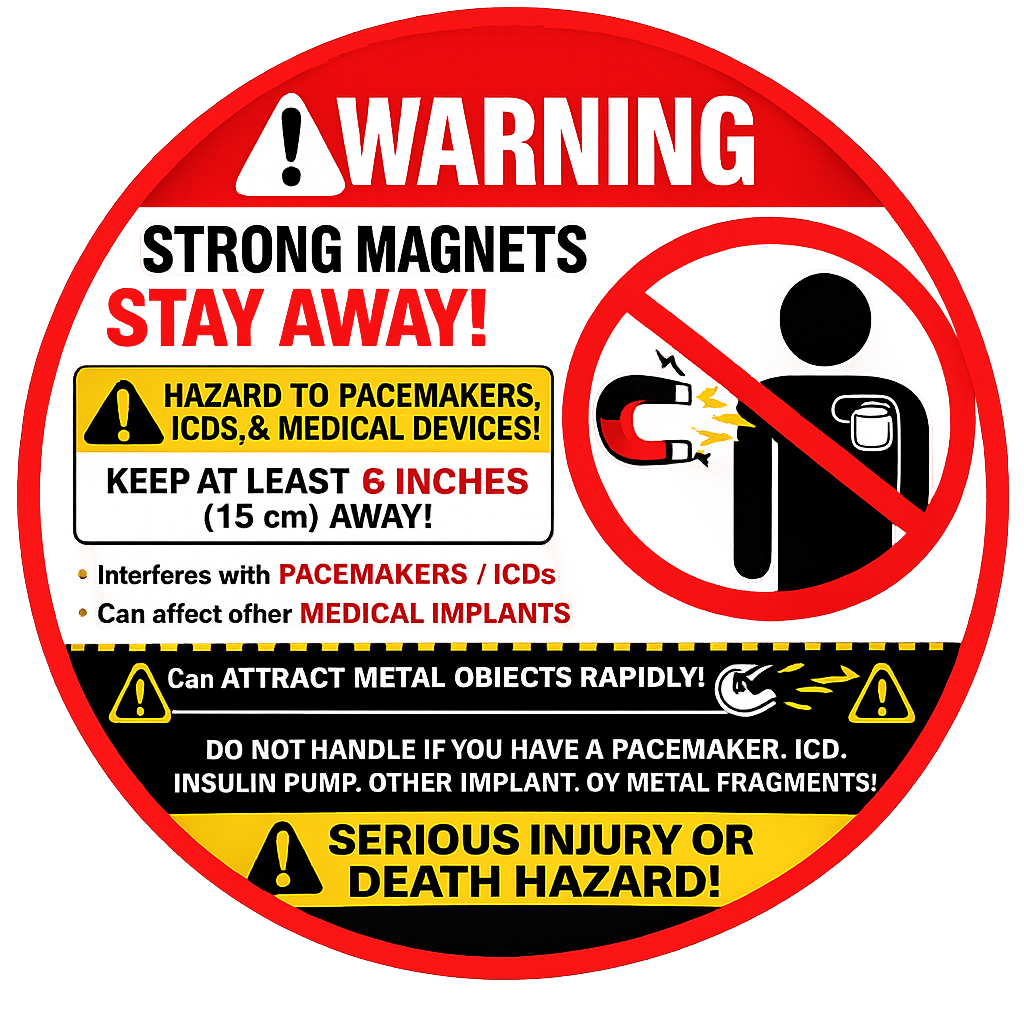
• The embedded magnets are designed to stay secure during normal volleyball use.
• Avoid pulling the rings apart with excessive force.
• If the rings become separated, gently reconnect the magnets.
Training Use:
• Passing Rings are a training tool designed to improve passing technique.
• Use during drills, practice repetitions, and individual training.
• Inspect rings occasionally for signs of excessive wear.
Proper Passing Technique
Begin in an athletic stance with your feet slightly wider than shoulder width.
Keep your knees bent, chest up, and eyes forward. When preparing to pass,
bring your hands together and extend your arms to form a flat platform.
The Passing Rings help reinforce proper wrist positioning and platform
consistency throughout training.
Key Coaching Points
- Keep your elbows straight.
- Press your thumbs, and forearms together as well as push your thumbs down to create a flat platform.
- Keep your shoulders forward and relaxed.
- Angle your platform toward the target by dropping your shoulder.
- Move your feet to the ball whenever possible in order to pass an easier ball and avoid reaching.
- Avoid swinging your arms at the ball.
- Use your legs to help control the pass.
A strong passing platform is formed by locking your elbows straight, bringing your forearms together, and keeping your thumbs aligned.
The platform should be flat, stable, and angled toward your target before contact.
The Passing Rings help reinforce this position so players develop correct muscle memory quickly.
Good passing begins with efficient footwork. Always move your feet first to get behind the ball instead of reaching with your arms.
Use quick shuffle steps, stay low, and adjust your body so the ball meets your platform in front of your midline.
Proper footwork leads to better balance, control, and accuracy.
🔧 Troubleshooting & Frequently Asked Questions
Getting the most out of your Passing Rings is easy.
Here are answers to the most common questions.
❓ Why don't the rings connect when I pass?
Answer:
Your thumbs are not coming together side-by-side. Most often, your thumbs are either:
- 1️⃣ Your thumbs aren't touching.
Bring your thumbs together so they're side-by-side before contacting the ball.
- 2️⃣ Your thumbs are crossing over each other.
If one thumb overlaps the other, the magnets won't line up. Keep your thumbs even and level.
- 3️⃣ One thumb is farther forward than the other.
Both thumbs should be aligned. If one is in front, the magnets won't meet.
- 4️⃣ The rings are rotated too far inward or outward.
This isn't a form issue. Simply rotate the rings slightly until the magnets naturally face each other when your platform is formed.
Focus on bringing your thumbs together evenly before contacting the ball. The rings provide immediate feedback when your passing platform is formed correctly.
🎥 Still Having Trouble?

Watch this 2-minute video:
Why Aren't My Passing Rings Connecting?
❓ The rings keep separating. Is something wrong?
Answer:
No. If the rings separate, it may be a sign that your passing platform is breaking down, your thumbs are separating too soon, or your hands are not coming together properly with correct passing technique. The rings are designed to separate when enough force is applied, helping prevent unnecessary stress on the rings while keeping training comfortable. Continue practicing while focusing on proper technique, and as your form improves, the rings will connect more consistently as designed.
❓ Should the rings stay connected during every pass?
Answer:
Not necessarily. Passing Rings are designed to reinforce proper hand and thumb position—not to stay connected on every pass. As your technique improves, the rings will connect more consistently. The magnets provide instant feedback, helping you recognize when you are maintaining your platform and when your thumbs separate too soon.
❓ The rings feel loose. What should I do?
Answer:
Try a smaller size. The rings should fit securely enough that they stay comfortably in place during practice while still allowing natural thumb movement.
❓ The rings feel too tight.
Answer:
Move up to the next size. The rings should fit snugly without feeling restrictive. They are designed to allow a small amount of movement and flex with your thumbs during training. If they leave deep marks, pinch your skin, or become uncomfortable after a few minutes, a larger size is recommended.
❓ Which thumb should wear each ring?
Answer:
Each ring is designed for a specific thumb and is marked accordingly. Place the ring marked for your left thumb on your left thumb and the ring marked for your right thumb on your right thumb. Wearing them on the correct thumbs helps ensure proper fit, alignment, and training feedback.
❓ Will these instantly improve my passing?
Answer:
Passing Rings are a training aid—not a shortcut. They provide immediate feedback to help reinforce proper passing technique. Consistent practice with good fundamentals will produce the best results.
Next Steps
Ready to improve your passing skills? Visit our Passing Drills Library and
Training Videos sections for drills specifically designed to be used with
Passing Rings.
Go to Passing Rings Drills Library →
|
|